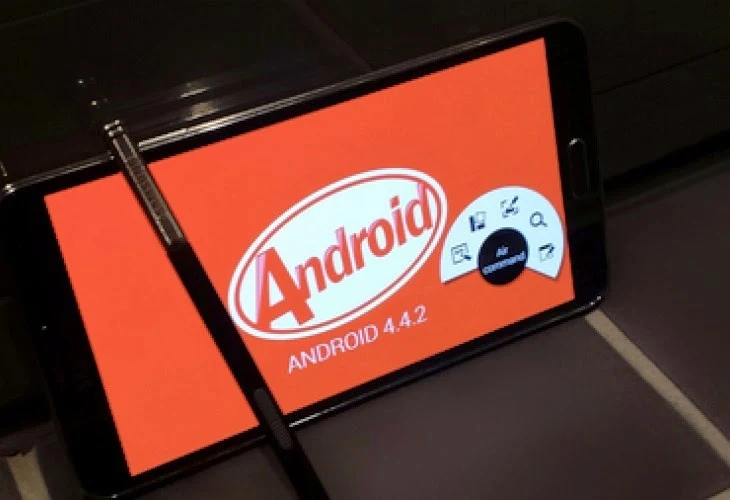
The Galaxy Note 3 has received a new build of Android 4.4.2 KitKat, the XXUDND1 firmware. Use this tutorial in order to successfully learn how to update your smartphone manually with a brand new Android version.
If you didn’t receive the official update notification for your Galaxy Note 3 or you know that your region won’t get the XXUDND1 firmware, then you can use this post in order to successfully update your smartphone.
The Android 4.4.2 XXUDND1 firmware is dated to April 14, which means that the testing went according to plan and the update has been released for everyone to install it on their Note 3 devices. Follow all the info that is listed in this post and you should be able to complete the update manually without losing any data in the process.
Users with custom ROMs need to know that the installation of a stock and official ROM will wipe all data from system partition. More about this can be found in the preparation guide below. Make sure to read all the guidelines before getting to the tutorial guide, it will help you complete the installation easily and you will surely manage to do it at your first attempt.
Here’s what you need to know before getting to the tutorial:
- use this tutorial only with the Samsung Galaxy Note 3 model number SM – N900.
- check the device’s model number by opening the ‘About Device’ section and checking the info listed there.
- don’t attempt to update any other smartphones nor tablets with the files that you will find in this article as you’re risking damaging your device.
- without these drivers your PC won’t connect to your smartphone and ODIN, the app you will use to flash the update, will not detect the Note 3.
- disable the Samsung KIES from running on your computer.
- disable the antivirus apps that are opened on your PC.
- enable USB Debugging for your phone from its Developer Options menu.
- in case Developer Options doesn’t show up in Settings, then you will need to enable them – learn here on how to enable USB Debugging for Samsung phone.
- if your Note 3 smartphone is running a stock ROM you can be sure that no files will be removed in the process.
- however, if your phone features a custom ROM then you should know that the flashing process of XXUDND1 KitKat update will remove all data from the system partition.
- use Helium for Android if you want to backup data from installed apps or SMS text messages.
- also, sync Contacts data with your Gmail account.
- if your device features any custom Recovery on it, then this will be removed in the process and a stock Recovery will be flashed instead.
- rooted Note 3 phones will have their root access after flashing a stock Android 4.4.2 ROM.
- check your phone’s battery charge level and make sure that it is over 50%, so that the phone won’t switch off in the middle of the updating process.
- use this guide only if you’re an advanced user and you know what you’re doing.
- note that we won’t be held responsible in case you brick your phone or lose any data in the process.
- read the entire post first and do not skip any steps if you want to complete the guide at the first attempt.
Now that you know all of the above you can continue to the next part of this article.
How to flash Android 4.4.2 XXUDND1 KitKat Firmware for Samsung Galaxy Note 3 N900:
- you need to create an account at SamMobile before being able to download the firmware file from them.
- create the account and click the download link once again.
- you will get a tar.md5 file and you shouldn’t extract any further than that.
- extract ODIN’s contents and place the files in a single folder on your computer.
- if you can’t boot Download Mode, then you can learn with this post.
- note that in case ODIN doesn’t detect the phone, then you will be forced to re-install the Samsung USB Drivers once again, the download link is in the preparation guide above.
- make sure that the ‘Re-partition’ option is not enabled.
- don’t change any other default options.
- don’t press any buttons until all files are flashed successfully.
NOTE 1: If ODIN displays the ‘FAIL’ alert, the phone enters into a bootloop, it freezes or something blocks the installation, then you should try to repeat the entire tutorial once again. Make sure not to skip any steps and to ask for more help in comments.
NOTE 2: If ODIN says that the process was passed, but the phone is unable to go past the Samsung boot animation, it enters into a boot loop or it boots and it shows too many errors, then you will be forced to apply an Android Factory Reset. Below you can find all info but, factory reset process will wipe all data from the system partition:
- power off the phone completely.
- next, boot it into Android Recovery Mode.
- if you’re unable to boot Recovery follow the info listed here. - from the recovery menu you should select ‘wipe data/ factory reset’.
- confirm the process.
- after the factory reset is complete you should reboot the device in normal mode.
For any other questions use the field below.


0 comments:
Post a Comment